Have an account?
Log in to check out faster.
Loading...
Look no further for longer, fuller lashes and brows!
Feel pampered with soft, smooth skin from heel to toe.
Discover your best skin yet with our game-changing skincare products.
Absolutely no bad smells. Absolutely no staining!
Straighter, shinier, smoother hair is just around the corner…
It’s time to tackle those tangles and tame that frizz!
Find everything you need for healthy, manicure-ready nails at home, all in one place!
Welcome to the NYK1 Nailac collection – a gel nail salon favourite!
Look no further for long-lasting, vibrant, flawless nails!
Say goodbye to nicks, chips and smudges with NYK1 Top & Base Coats!
FREE UK Mainland Delivery
FREE International Delivery | Spend £75
Klarna Now Available!
STEP 1 - MATCH UP THE TIP
(A) You must match up the correct sized nail tip to your natural nail’s shape.
(B) Do this by sizing up the width from side-wall to side-wall.
IMPORTANT: Remember flat nails need flat tips. If the nail tip is too curved, or too small, it will increase the chance of popping off.
STEP 2 - PREP THE NAIL (Essential)
(A) Lightly buff the surface of the natural nail to remove surface shine to create the perfect bonding surface.
(B) Scrub the nail plate with NYK1 Prep&Shine or a dehydrator to remove all previous glues, polishes, residual extensions, moisture, dust, dirt and oil from the natural nail so that the nail tip will adhere with a strong bond.
DO NOT WASH HANDS WITH SOAP & WATER TO PREP NAIL
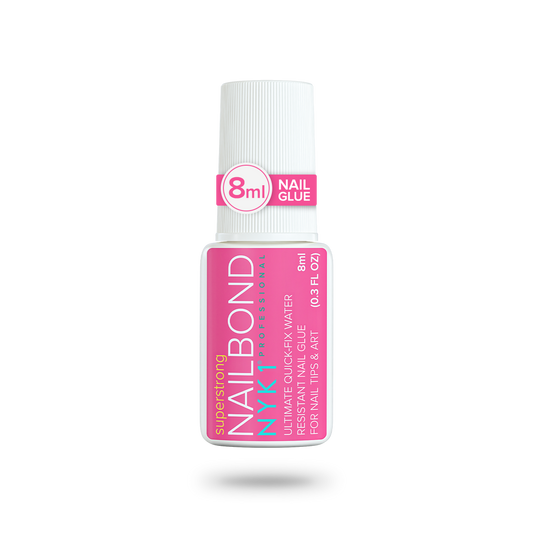
STEP 3 - APPLY NAILBOND TO BOTH
(A) Brush NailBond on the underside of the nail tip.
(B) Also brush NailBond around the tip of your natural nail.
DO NOT USE A DEHYDRATOR ON THE NAIL TIP
STEP 4 - APPLY AT 45° ANGLE
(A) Bring the nail tip to your natural nail at a 45° angle & (important) slowly push and press the tip down with your thumb to squeeze any air out of the bond. When finally flat against the nail, keep it pressed for a few seconds to create a strong bond.
(B) Press and hold the sides of the nail tip for a few seconds to allow the glue to fix the sides in place.
IMPORTANT: If you can see any white marks in the bond between the nail tip and the natural nail, this means there is trapped air. Any air bubbles will weaken the bond and your nails will pop off prematurely. You must remove the nail tip and try again!
STEP 1 - SIZE-UP THE FALSE NAILS
Size the false nail to fit the natural nail by placing the false nail over your nail’s surface. Make sure that the false nail fits into the cuticle nicely. The false nail surface must touch the entire surface of your natural nail.
IMPORTANT: Remember flat nails need flat tips (go up in size until the surfaces fit, cut away any excess at the sides). If the false nail is too curved or small, it may pop off.
(A) Lightly buff the surface of the natural nail to remove the surface shine and create the perfect bonding surface.
STEP 3 - COAT THE NAIL
Using the NailBond brush,
(A) Fully coat your own natural nail with NailBond.
(B) Coat half of the false nail with NailBond.
DO NOT USE A DEHYDRATOR ON THE FULL FALSE NAIL
STEP 4 - APPLY FALSE NAIL
(A) Place the false nail over your nail’s surface. Make sure that the false nail fits into the cuticle nicely. Hold down with thumb over the false nail and apply pressure for 30 seconds.
(B) To finish press down the sides to ensure that the false nail has bonded well.


 FOLLOW @NYK1SECRETS